The Wind Doesn't Read the Price Tag: Specifying a Fence That Stays Put
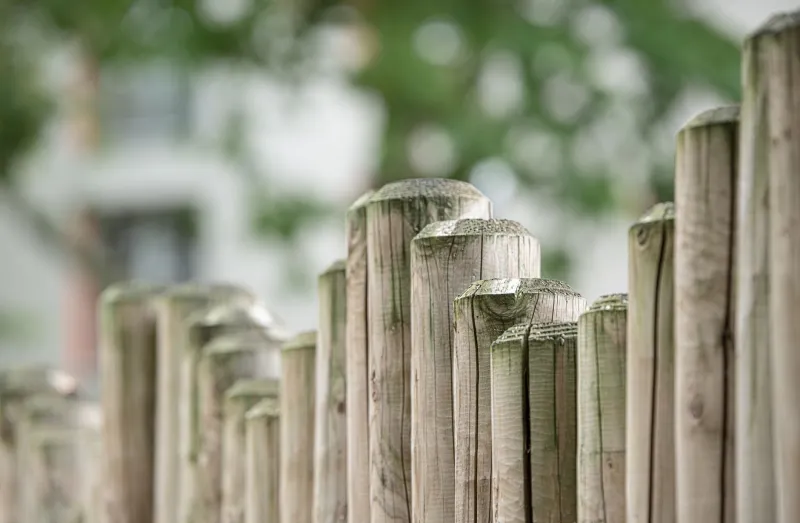
You can tell a lot about a fence from the first proper gale. The panels that were cheap in March have a habit of lying across the lawn by Bonfire Night, and the posts that looked plenty stout in the yard turn out to have been 75mm sticks buried 400mm into wet clay. Nobody sells you a bad fence on purpose. It's just that the price of a 6ft panel is easy to compare, and the stuff that actually keeps it upright — post size, embedment depth, rail orientation, fixings — is invisible until it isn't.
So let's talk about what to order if you want a boundary that survives a British blow, rather than one that merely survives until the next one.
Posts do the work; panels just fill the gap
A fence panel is a sail. A 1.8m × 1.8m panel in a decent south-westerly is taking a serious load, and every bit of that load funnels down into two posts. If those posts are 75mm × 75mm, you've built a fence that depends on the soil to hold it up and the soil is rarely in the mood.
For a standard 1.8m fence, I'd want 100mm × 100mm posts as a minimum, and 125mm × 125mm on anything exposed — a corner, a gap between buildings, a hilltop garden, anywhere the wind funnels. On a really open site, or if you're going taller than 1.8m, go bigger again. The difference in cost between a 75mm and a 100mm post is a few quid a length. The difference in how long the fence lasts is measured in years.
Post length matters as much as post width. The rule of thumb is a third in the ground, two thirds above, so a 1.8m fence needs a 2.4m post. That gives you 600mm of embedment. In sandy or loose ground, go deeper — 750mm isn't extravagant. And please, concrete them in. Post spikes and met-posts have their place on a temporary run, but on a boundary that's meant to stay up, a proper concrete collar (or better, a full footing) is the only thing that reliably resists levering.
Rails, orientation and the small detail that sheds water
If you're building a framed fence rather than hanging panels, the rails matter. Arris rails are wedge-shaped for a reason: thick edge down, thin edge up, so water runs off rather than sitting in the joint. Get them the wrong way up and you've built a lovely little reservoir along the top of every rail.
For exposed sites, I'd also think hard about rail spacing. Three rails on a 1.8m fence is normal; four is better if the wind gets at it. And if you're using mortise-and-tenon joints, make sure the tenons are actually through the post and pinned, not just housed in a shallow slot. A rail that pops out in a gust takes the boards with it.
Bracing is the bit most DIY builds skip. A diagonal brace from the bottom of one post to the top of the next, set at roughly 45 degrees, turns a row of separate posts into a structure. On a long run, brace every third or fourth bay, and brace in the direction the prevailing wind hits. If the fence changes direction, brace the corners properly — corners take more load than any straight run.
Board spacing, overlap and the gap that isn't a gap
Feather-edge boards should overlap by at least 25mm. Any less and a driving rain will find its way through, and a wet board is a heavier board with more to catch the wind. On the other hand, don't cram them tight — timber moves, and a fence built with no allowance for expansion will cup and split by the end of its first summer.
If you're using overlap panels, check the overlap before you buy. Some budget panels are stingy with it, and you can see daylight through the lap on a bright day. That's not weatherproofing, that's a suggestion of weatherproofing.
Keep the bottom of the boards off the ground. A gravel board isn't a luxury — it's the thing that stops the bottom of your feather edge soaking up soil moisture and rotting from the feet up. Concrete gravel boards last longest, but pressure-treated timber ones are fine if they're genuinely treated and not just dipped.
The fixings are where cheap fences quietly give up
Galvanised nails are fine inland, but near the coast or on a really exposed site, go stainless. Ring-shank nails hold better than smooth in timber that's drying and shrinking. Screws are slower but you can see what you've done and adjust it, and a decent coated screw will outlast a cheap nail every time.
And check the brackets and post caps. A post cap isn't decorative — it keeps water out of the end grain, which is where a post rots first. If you're using panel clips or brackets, make sure they're galvanised or stainless, not the shiny-but-thin stuff that rusts by the second winter.
What I'd actually order
For a normal UK garden boundary, 1.8m high, moderately exposed: 100mm × 100mm pressure-treated posts at 2.4m, concreted 600mm deep, at 1.8m centres. Three or four treated arris rails per bay, thick edge down. Feather-edge boards with a 25mm overlap, fixed with stainless ring-shank nails. Timber or concrete gravel boards. Diagonal bracing every few bays and on every corner.
That's not the cheapest fence you can build. It is, in my experience, the one you'll still be looking at in fifteen years — which is the only price comparison that actually matters. The cheap panel isn't cheap if you're replacing it in three years, and the wind doesn't care what you paid.