A Gate Is a Small Building: Timber Spec That Won't Drop by Bonfire Night

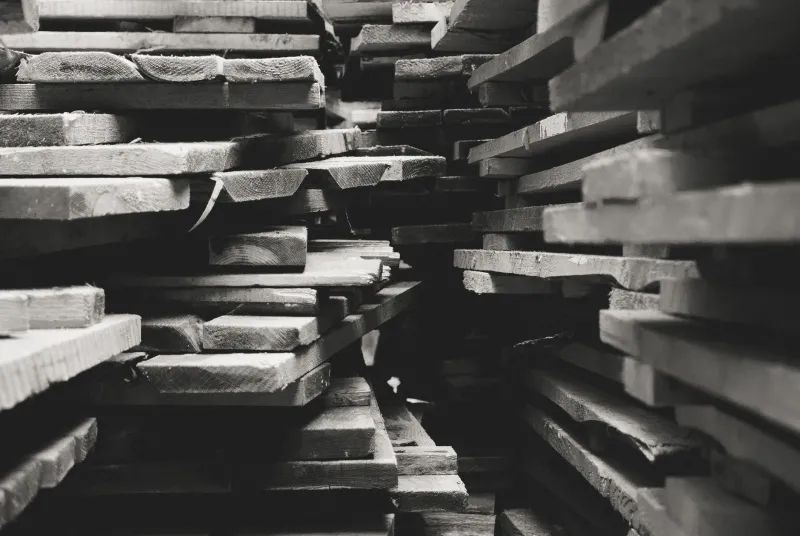
Photo by Photo by T on Unsplash on Unsplash
A garden gate is judged on one thing: whether it swings cleanly. If it drags, catches, or needs a shoulder to close, the hinge gets the blame. Fair enough — hinges are visible, cheap to replace and easy to curse. But by the time a gate is hanging off its latch, the wood has usually been arguing with gravity for months. The hinge is just the messenger.
The useful way to buy for a gate is to treat it as a small building. It has a foundation, a frame, a skin and a set of connections. Get those right and the hardware has an easy life. Get them wrong and no amount of adjusting will save you.
Start with the post, because everything else is leverage
The gate post is doing more work than any other piece of timber in the job. A gate is a lever, and the post is the point it leans against. Every gust, every slam and every child swinging on the latch is multiplied by the width of the gate and passed into the post.
For a normal pedestrian gate, a finished post of around 100 x 100 mm is the sensible starting point. Go to 125 x 125 mm for wider gates, heavier infill, oak construction or anything taller than a standard garden gate. If the gate is wide enough to need two people to hang it, the post needs to be generous — and the fixing below ground needs to match.
This is where nominal sizes catch people out. A 4 x 4 in the yard's ticket is not a 100 mm finished post, and a post that looks chunky on the rack can look weedy once it is standing on its own with a gate hanging off it. Order the finished size you need and check it before it goes in the ground.
The post also needs a proper foundation. A met-spike is fine for a light fence panel; it is not the answer for a gatepost carrying a moving leaf. Concrete, decent depth, and drainage away from the base matter more than a fancy cap. And if you are replacing a gate on an existing post, check the post before you buy the gate. The cheapest new gate on a rotten post is a wasted Saturday.
The leaf needs stiffness, not just boards
A gate leaf is a frame with infill. The stiles are the vertical edges, the rails are the horizontal members, and the brace is there to stop the rectangle turning into a parallelogram. If the frame is flimsy, the best boards in the yard will not save it.
Skinny stiles are a classic false economy. A 32 mm stile might feel fine in the rack, but it will flex once the gate is carrying its own weight. Match the section to the span: a light gate can get away with less than a heavy one, but the stiles and rails still need enough meat to hold a proper joint. Screws alone are not a joint. Mortise and tenon, or a well-made bridle joint, gives the frame something to work against.
The brace should run from the bottom on the hinge side up towards the top on the latch side. That is the direction that helps carry the gate's weight. Put it in the wrong way and it may look symmetrical, but it will not do the job.
Infill needs room to move. Tongue-and-groove boards crammed tight in a wet autumn will swell and push the frame out of shape. Leave a small gap, fix the boards properly, and do not treat the gate as a sealed box. A gate that can shed water and move a little will outlast one that is built tight and stiff in all the wrong places.
Species: pick for the weather and the weight
Treated softwood is the workhorse for garden gates, and there is nothing wrong with it when the treatment is right and the detailing is sensible. It is light enough to hang, easy to work and affordable. The catch is that not all treated timber is equal, and cut ends need treating again on site.
Oak is strong and looks the part, but it is heavy and it moves. A wide oak gate needs heavier hardware, a heavier post and a bit more respect for seasonal movement. Larch and cedar are worth considering where natural durability matters and you want something that behaves well outdoors. Cedar is lighter and stable; larch is tougher and more at home in a British garden. Neither is a free pass — end grain, joints and fixings still need looking after.
Moisture content is the quiet decider. Timber that is too wet will shrink and distort as it dries; timber that is too dry will swell when it meets a wet winter. Ask for a moisture reading, especially on a made-to-measure gate or thicker sections. If the yard cannot tell you, that tells you something too.
The false economies that show up by autumn
The undersized post is the big one. Then come thin stiles, hinges chosen by price rather than weight, and a finish that stops at the front face. A gate is outside all year; if the back, the bottom edge and the end grain are left bare, water will find them.
Adjustable hinges are not a luxury on a heavier gate. They give you a way to correct a small drop without taking the whole thing off. Three hinges on a wide or heavy leaf spread the load and make the gate feel solid. Stainless or properly coated fixings cost a little more and save the black streaks and rusty screws later.
Allow clearance. A gate that fits perfectly in July can bind in November. A few millimetres at the latch side and under the bottom rail is not sloppy work; it is room for the wood to move and the ground to heave.
The order I would put together
Write down the finished sizes, not the nominal ones. Post first: 125 x 125 mm for a typical 900 mm gate, heavier if the gate is wide or oak. Then stiles and rails with enough section to take the joints, a brace in the right direction, and infill boards with a gap. Add adjustable hinges rated for the weight, stainless screws, a cap for the post and a finish for every face and end.
If you are unsure, spend the extra on the post and the hinges, not on a thicker coat of stain. The gate hangs on the post, the post holds the gate, and the hardware only gets blamed when the wood was undersized from the start.